Storing Baby Formula in Mylar Bags
As a prepper, you understand the importance of being prepared for any situation. When it comes to ensuring that your baby’s nutritional needs are met

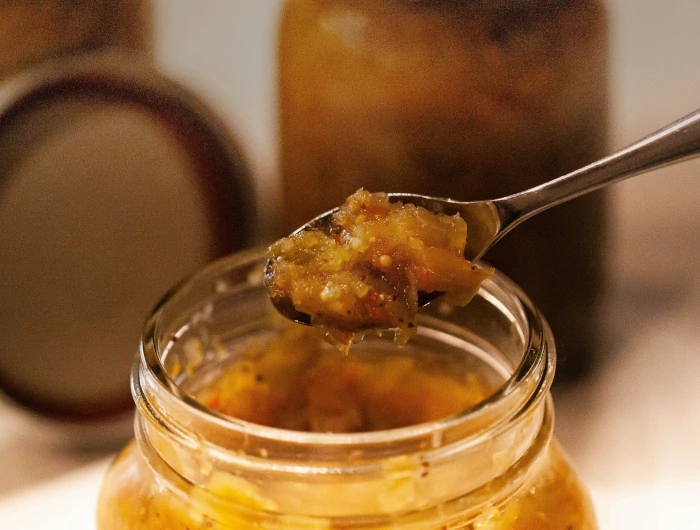
Hello, fellow canning enthusiasts! We’re Goodtohave, your trusted source for canning equipment in beautiful New Zealand. Today, we want to share some tried-and-true canning success tips that will banish those failed batches. We know how frustrating it can be when your hard work goes to waste, so let’s ensure your next canning adventure is a success!
Your journey to canning success begins in the garden. Opt for the freshest fruits and vegetables you can find or grow. The quality of your ingredients plays a significant role in the final taste and texture of your canned goods. Remember, you’re preserving the flavors of your garden, so make sure they’re at their peak.
Investing in quality canning equipment is key to achieving foolproof results. At Goodtohave, we offer a range of reliable canning tools and supplies designed to make your canning experience easier and more successful. From our canning jars to our canning funnels, our products are crafted with care to ensure top-notch performance.
Canning is as much science as it is art, so stick to tested and trusted recipes. Our Goodtohave team loves experimenting, but when it comes to canning, it’s best to follow established recipes, especially if you’re just starting. Once you’re more experienced, you can get creative and add your personal touch.
One of the most common reasons for failed batches is inadequate sterilization. Ensure your jars and lids are squeaky clean and properly sterilized before you start filling them with your delicious produce. A good practice is to simmer them in boiling water for 10 minutes.
When filling your jars, leave the recommended headspace at the top. Headspace allows for proper expansion during processing and helps create a vacuum seal. Too little or too much headspace can lead to issues, so follow your recipe’s guidelines.
Air bubbles trapped in your jars can cause problems down the line. After filling your jars, use a plastic tool, like a chopstick or a bubble remover, to release any trapped air. This step ensures a snug fit and reduces the risk of spoilage.
Processing times matter! Follow your recipe’s recommendations for processing your jars in boiling water or a pressure canner. Rushing this step can result in underprocessing and compromised safety.
Once your jars have cooled, check for that satisfying “pop” sound as the lids seal. Gently press the center of the lids; they should not flex or pop back when pressed. If any jars haven’t sealed properly, refrigerate or reprocess them promptly.
Proper labeling is crucial for keeping track of your canned goodies. Label your jars with the date and contents, and store them in a cool, dark place. Use the oldest jars first to ensure you enjoy your canned goods at their freshest.
Canning is a skill that gets better with practice. Don’t be discouraged by the occasional mishap. Instead, view it as a learning opportunity. Every experienced canner has had their fair share of “Oops!” moments. Over time, you’ll become more confident and adept at preserving your favorite flavors.
Achieving foolproof canning success is within your reach with the right mindset, quality equipment, and a dash of patience. Remember, at Goodtohave, we’re not just here to sell you canning equipment; we’re here to support your canning journey every step of the way. Happy canning, and may your pantry always be filled with the delicious fruits of your labor!

As a prepper, you understand the importance of being prepared for any situation. When it comes to ensuring that your baby’s nutritional needs are met

If you’re a fan of probiotic-rich foods, you’ve probably heard of kefir. This tangy, fermented drink is packed with beneficial bacteria and yeast, making it

Making your own butter at home is a rewarding and surprisingly simple process. With just a few basic ingredients and tools, you can create rich,
We are on holiday till 20th October. All incoming orders will be shipped on Monday the 21th October. Dismiss